

I find this highly irresistible...I wouldn't have found out about this, if one day I hadn't accidentally pressed the wrong button in the vending machine and got this crispy treats instead of a chocolate bar....
Happy accidents do happen sometimes...and it comes in all size and shapes... and for me it came in the shape of this chewy treat one fine day....I instantly fell in love with this....
The sticky melted marshmallows can be pretty daunting at times...but if buttered well, these are super duper easy to make...and will be ready in less than 20min.
Recipe:
---------
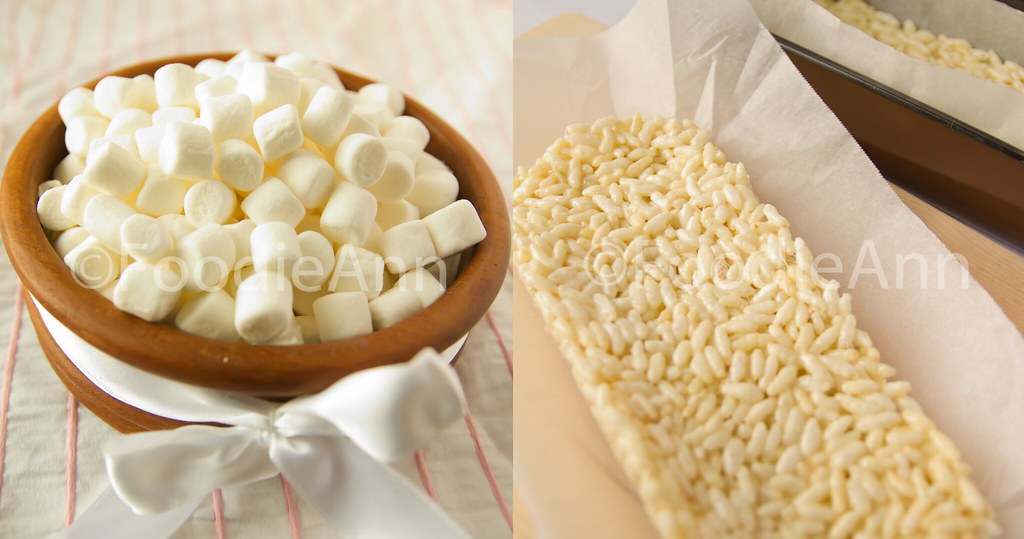
- Butter - 1/2 stick
- Mini marshmallows - 300 gms
- Puffed rice - 4 cups or little less depending
- Line a rectangular tin with parchment paper and set aside.
- Melt the butter in a large, heavy-based saucepan(I used a non-stick) over low heat.
- Stir the butter with spatula while it melts so that the spatula gets coated with the melted butter. This will reduce the stickiness on to it while stirring.
- When the butter melts completely, add marshmallows and cook gently until they are completely melted, stirring constantly.
- Now add the puffed rice, mixing everything together until well coated with melted marshmallows and the puffed rice are sticking together.
- Press this mixture into the lined(or greased) rectangular tin.
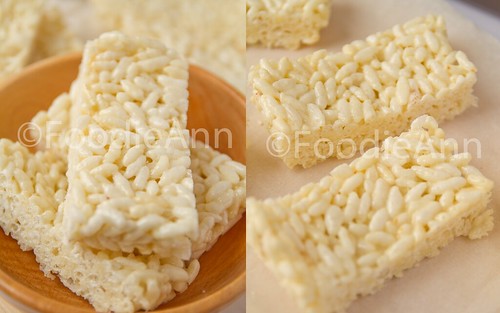
- Press it down into all the corners, flattening the top.
- Let the marshmallow crispy squares cool completely in the tin.
- Once cooled and cut them into desired shapes.
- Store it in air tight containers...


