
I love oil paintings... They almost look real.... Sometimes I stare at some pictures wondering if it is an Oil work or actual photography....It is amazing how they create such works....
I have experience with Water Colors before...But the end result with water colors never gives me a satisfactory work .. And last week I bid good bye to Water Colors.....At least for now....The reason might sound pretty stupid...but I realized - My water coloring skills are way baddddd....
I happen to get the DVD from the library which had the video demonstration of Painting Roses using Water Colors by Susie Short....I started it pretty confidently but half way through I realized it is a big disaster...Although anyone who see the painting might say.."Oh ya..You are painting roses"...But I am pretty sure none of them will say "it is a beautiful rose "...
When I realized it I stopped it right away. After two days of silly frustrations I decided to start fresh....Sadly this time also same.......No improvement....I stopped it right away....went to my cupboard and took out all the oil painting accessories I had. I started with the book Oil painting for beginners.
From that I drew the grapes, orange and apple. The next from YouTube I came across a video demonstration of strawberries and tried that one also....The end result ......
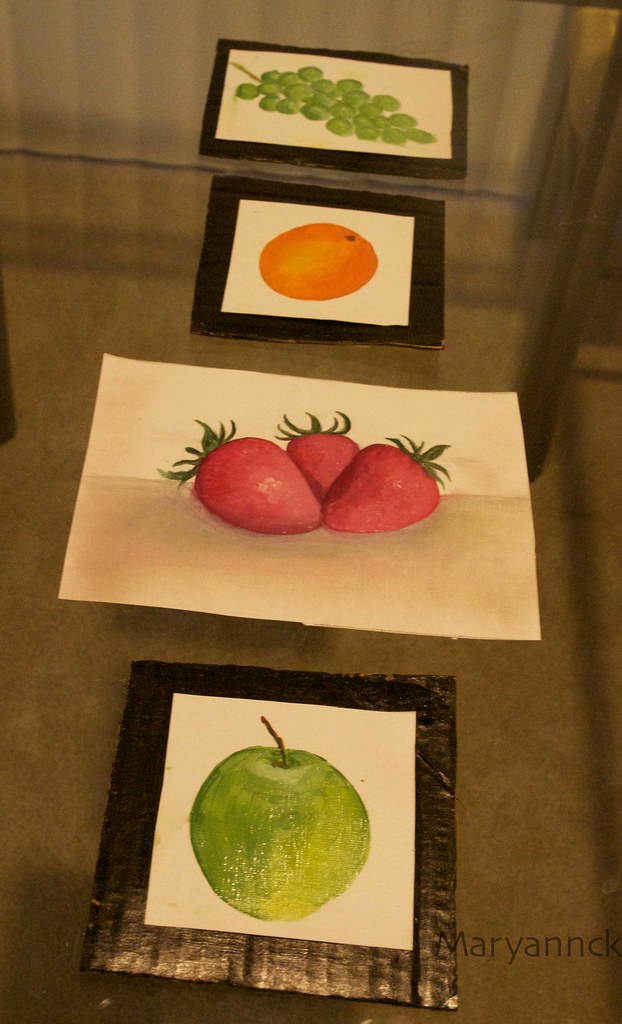
I should say I am happy... These are definitely going to adorn my kitchen walls... :).
P.S. The ones in the photographs are real paintings not photographs.......he he he ...Just kidding!!!


