Redirector

Pages

Wednesday, June 29, 2011

Photo Blizzz -2


After an overwhelming week of work, all I want to do is to go back in time and enjoy the scenery once more. But thanks to the invention of photography, even if we can't go back in time, we still can enjoy the frozen moments captured...So today I wanna sit back and enjoy the awesome road trip we had few days back...:)  
Wind Mills

Irrigation of Farm Lands


Second day journey started here.


Become a fan : FaceBook . Follow on twitter : @foodieanns

Tuesday, June 21, 2011

Hot Chocolate - For a Rainy evening


I think I have lost track of the number of times I tried to have a decent hot chocolate but ended up with the same disappointing tale ... I always feel like it is too good to be true...
I particularly remember this one time. After some hectic schedule at work, I wanted a break, and thats when I thought about the hot chocolate served by one of the vendors in the food court. The vendor being  one among the top and famous in the field of dairy products I had my expectations set pretty high... A mind filled with joy, I set out from the building to the food court blaming myself, for not doing this earlier...When I reached there I could see there 'Hot Chocolate' written on the menu board. With utmost excitement I ordered one hot chocolate and waited at the other end of the line...When I finally got mine I couldn't wait but to have a sip... It sure was hot and it kind of burnt my tongue a little ...but that was not the sad part...I waited till I took another sip to confirm it. Yes, that same feeling crawled into my mind. It tasted anything but hot chocolate...more like a health drink (like boost)

As time went by, the memory of hot chocolates also faded, until I stumbled upon a picture recently. I was determined to try it this time. I made it. At last something worth calling 'hot chocolate'.

For a more deeper chocolaty flavor try adding some semi or bitter sweet chocolate...:-).


Recipe:
--------

  1. Milk                -  4 cups
  2. Sugar             -  1/2 cup 
  3. Cocoa powder  -  1/4 cup 
  4. Salt                -  a dash
  5. Vanilla extract  -  3/4 tsp
  6. Hot water        - 1/3 cup 
  7. Miniature marshmallows or sweetened whipped cream (optional)

  1. In a medium saucepan, stir together sugar, cocoa, salt and water.
  2. Cook over medium heat, stirring constantly, until mixture comes to a boil.
  3. Stir for 2 minutes more.
  4. Add milk, stirring constantly, until the milk reaches the required temperature.
  5. Do Not Boil.
  6. Remove from the heat source and add vanilla and stir. 

    Serve topped with marshmallows or whipped cream, if desired.  


Become a fan : FaceBook . Follow on twitter : @foodieanns

Friday, June 17, 2011

Moroccan inspired Orange and Peanut Salad


What do you do when you have a fruit box full of oranges waiting to be consumed by someone ?
What do you do when you choose to forget and mentally make a note that this area of the refrigerator is not in for today's menu ?
What do you do when you mentally instruct your body to turn away from it for several days in a row ?
What do you do when your body has unconsciously programmed not to look into that particular area of the refrigerator ?
Now what have I done...? 
I have a bag full of ripe oranges stashed securely inside the fruit box and I am doing nothing about it... No ! Scratch that...  I wasn't planning of doing anything until I saw this Summer Salad recipe with Orange as the hero.... 


Although my summer break started a week back... It wasn't until this week that I really started to revel in. It dawned on me that I was hiding behind the shadows of past contemplating what I should have done and shouldn't have done...As the saying goes Past is past, unless I have some sort of time-travelling technique I cannot do anything about it. 
Learn from the past and move on !!!
Lets just say Lesson Learned !!! 
So this week was all about rejuvenation, both mind and body. Photography for the mind & some culinary adventures and exercise for the body. Off course some television too (Who am I kidding?). To make sure I do not deviate from the plan I even made a list of things I will be doing each day. True fact  :  I suffer from time management issues. If I say dinner will be ready in one hour, the husband decipher it as two hours. Clearly his subconscious has also been programmed. Clever right :)

This salad is inspired from a Moroccan recipe... I had a feeling that I will love it the moment I saw the recipe...and I was right...I love it when I am right...:P

Lemon dressing with a hint of cumin and chili complements the orange well. Paired with the peanuts and diced onions makes the salad crunchy just like a salad with croutons and lettuce. It brings out a nutty flavor to the mouth which balances the tangy orange and lemon flavor...:) What more do you want in a salad ...?

Recipe :
-----------
  1.  Oranges                  -  4,   Peeled, with pith removed, and sliced.
  2.  Roasted peanuts     -  1/2 cup
  3.  Onion                     -  1/2  of a large, diced.
  4.  Lemon juice           -  1/2  to 1 tbsp
  5.  Olive Oil                -  2 tbsp
  6.  Ground cumin        -  1/2tsp (roasted)
  7.  Chili powder          -  1/2 tsp
  8.  Chili flakes             -  pinch
  9.  Coriander leaves    -  1 tbsp, chopped finely


On a serving plate place the sliced oranges, diced onions and roasted peanuts.
Make a dressing of lemon juice, olive oil, cumin, chili powder and chili flakes and pour over the salad.
Sprinkle with chopped coriander leaves.

Enjoy while it lasts...:)

Become a fan : FaceBook . Follow on twitter : @foodieanns

Wednesday, May 25, 2011

Lemon Bars

Lemon Bars
I wanted something on the sweeter side and before I begin my class work. Thats when I scoured the refrigerator for something and spotted these lemons in the fruit tray buried deep under. I decided to give the lemons some justice. Moreover ever since I tasted the lemon bars I have been aching to make some. 
Lemon Bars
To tell truth I was very skeptical about tasting lemon bars. After setting my eyes on ton of pictures around the blogs and reading their description about their taste reviews, I became curious. I already fabricated a mental picture of how it tastes in my head... It was around that time I got an opportunity to taste it...Excited was the first feeling I got... Yes I like lemon bars too... How can I not...I am the person who used to drink a big tumblr full of lemon juice everyday when I was doing my undergrad... 
Here instead of typing the recipe, I will provide the recipe link from Joy Of Baking, which comes with a video and few extra tips as well...

Here you go Recipe: Lemon Bars

Unlike the most desserts which always screams sweet, Lemon bars really have a strong lemony flavor which comes with its tangy taste and is perfectly balanced with the powdered sugar, eggs and  the bottom shortbread crust.
These are  easy to make too... A perfect way to spend a serene and peaceful hour...Whipping some eggs, beating some sugar ... mixing some flour... scraping some lemon zest....A nice background music...
Lemon Bars

Friday, May 20, 2011

Simple Tomato Dal


Have you ever wondered if given a chance to look in to your future, will you recognize yourself...?
I often wonder about that... I think few years back if I get a chance to leap into where I am right now, I might give myself a shock or at least a scare...

Every time I visit new places.... or at times when I wait at the college staring at the buildings through the window...or every time I pick up a new habit ... I often ask myself about this..
One thing I am sure is that after the initial shock, my past-self will be extremely proud of what I am....


Its crazy if you really think about it... How quickly life changes...How experiences over time gives a new outlook of life... How priorities have  changed over the years ... The new things you started doing... New food started eating....
I always wonder about that and  I will continue to wonder ... I think its a good thought process to have....

There I said it...I have given a peek of what is happening in my head...
If anybody finds me staring somewhere lost in memories...then you can guess, I will be thinking something along this way...

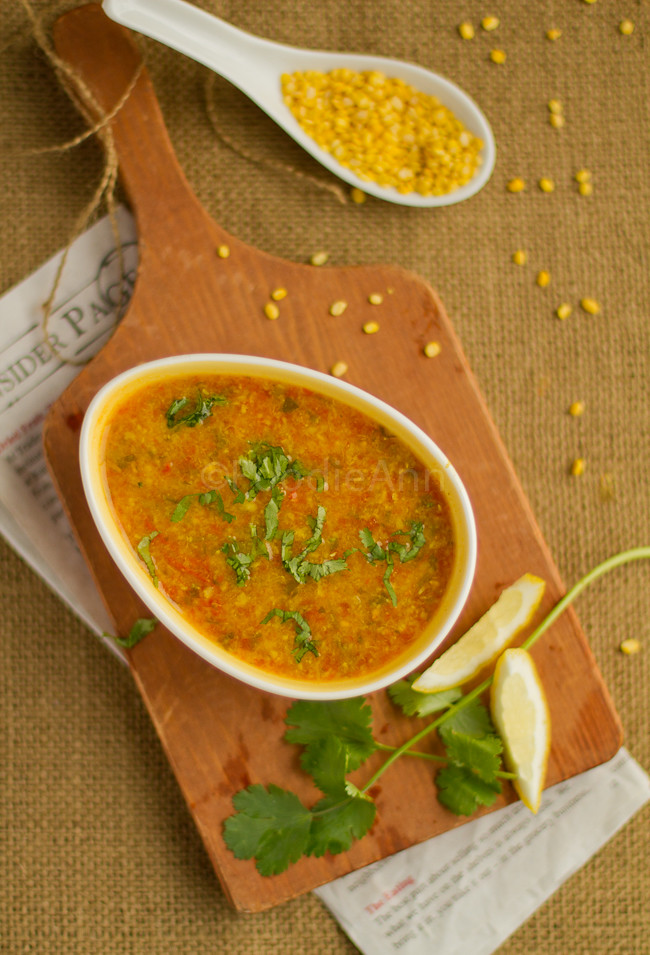
So today when I was making Dal, my thoughts were these exactly.... My past-self would be totally shocked wondering 2 thing !!! How come I am cooking... That tooo Dal !!!

Few years back I wouldn't even allow any kind of Dal curries come anywhere near my mouth...In fact few years back then I was pretty convinced I would never like Dal in my life....

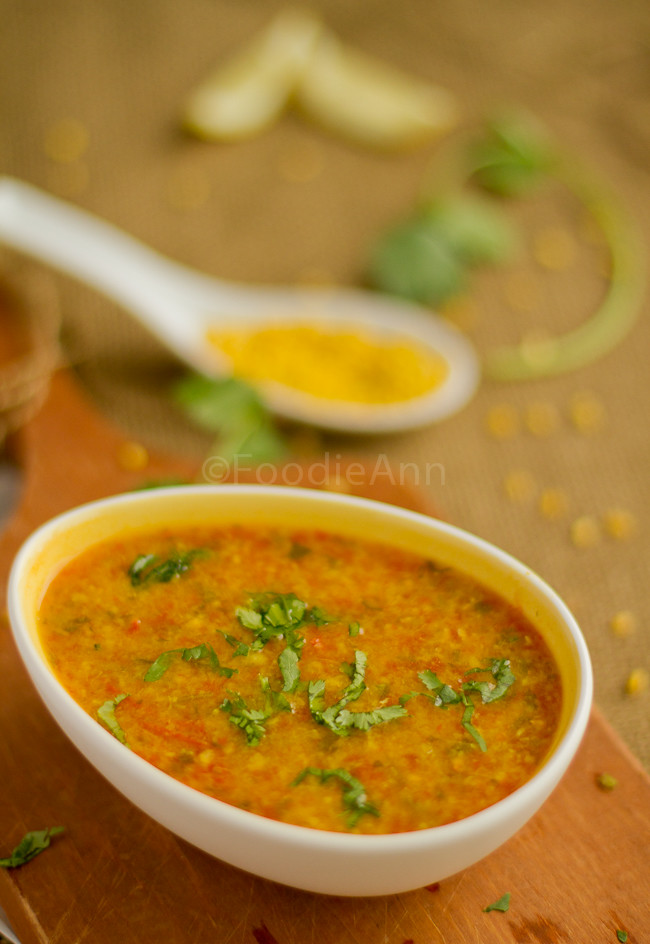
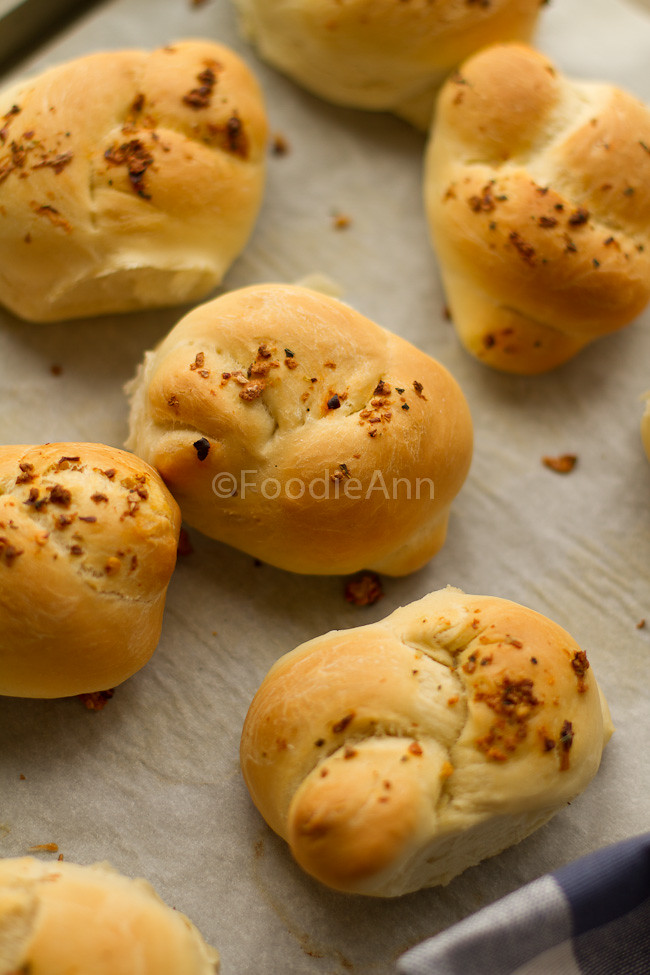
I call this simple dal because it really is very simple to make... If you have a pressure cooker at hand...I learned to make this from my MIL...
This dal makes its' appearance quite often into our dinner menu...

Recipe :
----------
Inspired from Mummy's Dal
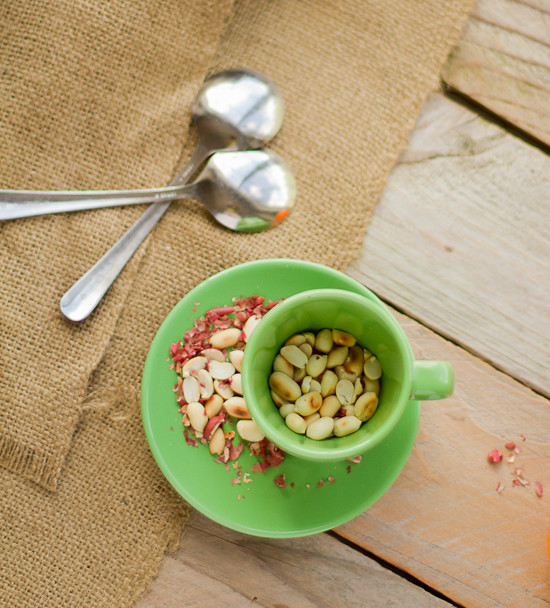
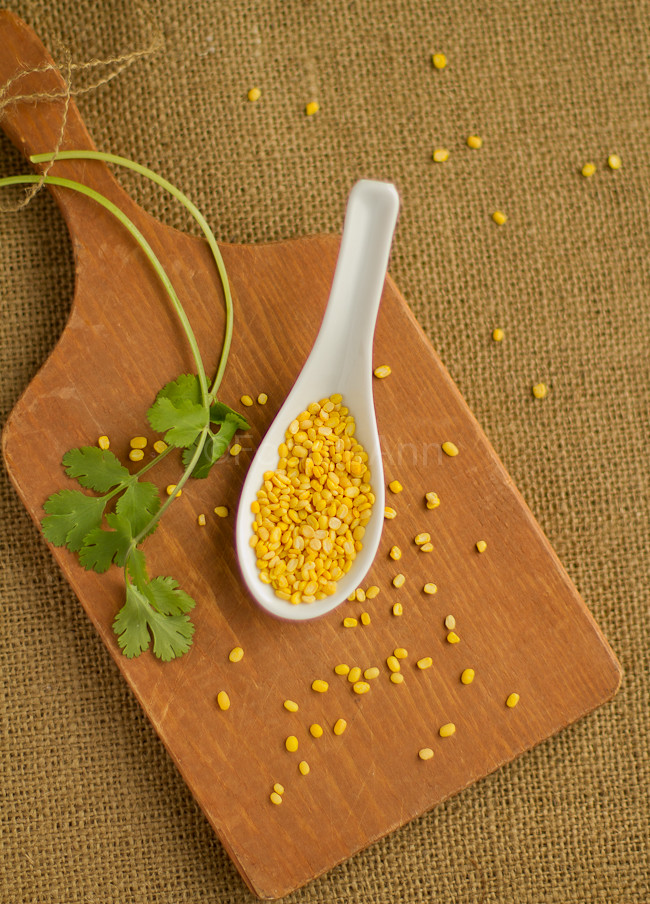
  1. Dal                       -  1/4 cup  (Toor dal  or  Moong Dal)
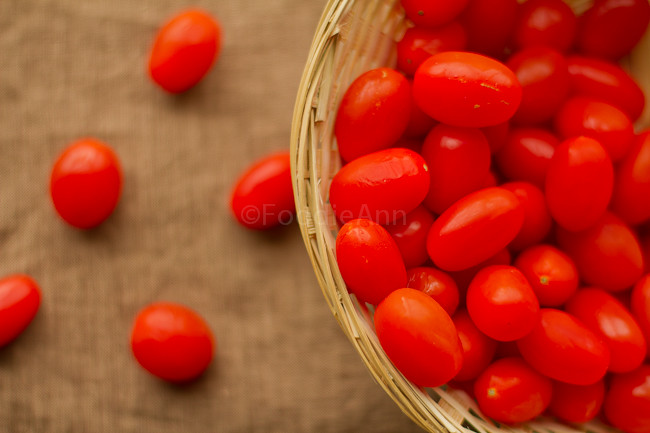
  2. Tomato                 - 2 medium sized, cut into half  or 2 handfuls of cherry tomatoes
  3. Turmeric powder    - 1/4 tsp
  4. Green chili             - 2 small , slit into half
  5. Coriander leaves     - a handful
  6. Salt
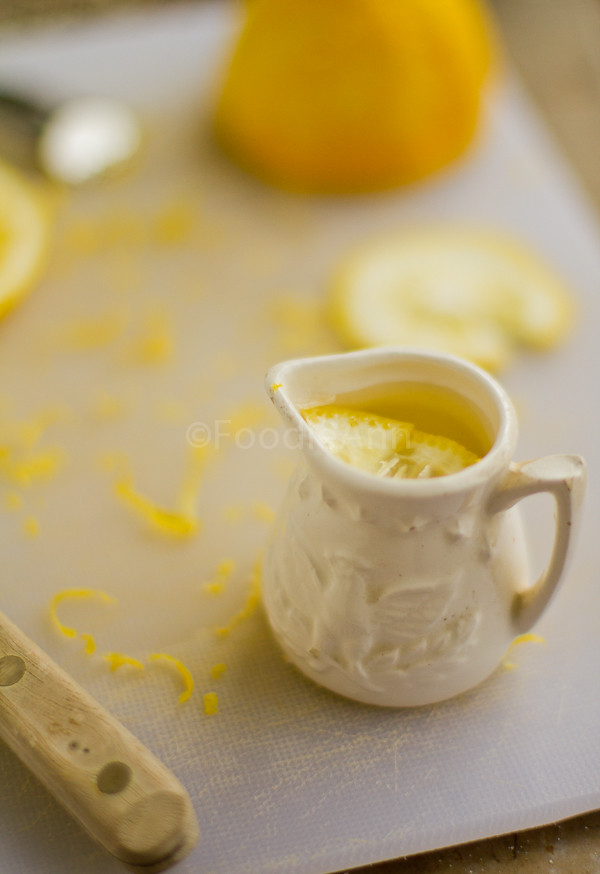
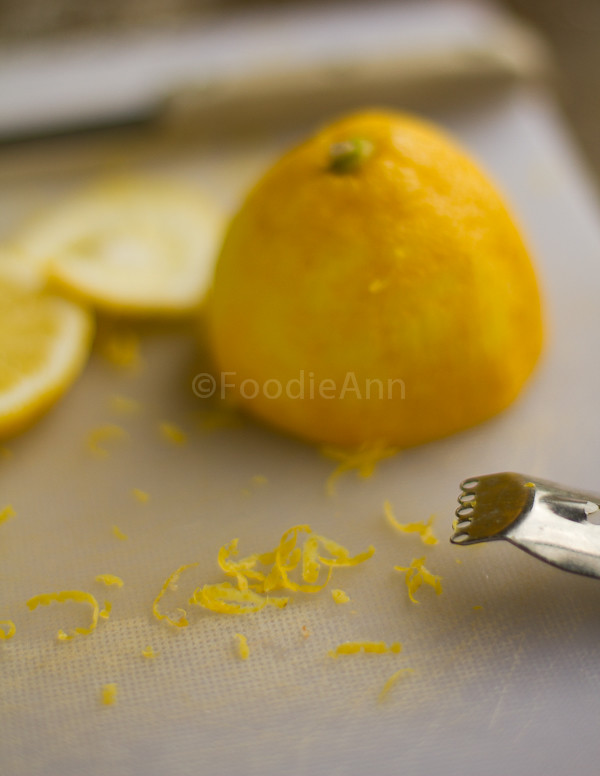
  7. Lemon squeezed    - 1/2 of medium
  8. Water                   - 1 cup


Heat a pan, add dal and roast on high heat for a minute or two, a good aroma comes from the roasted dal.
Set up the pressure cooker, add everything except lemon juice.
Pressure cook for 4-5 whistles. Switch off the heat, let it sit until all the pressure is gone.
Open the lid,  whisk everything together to lightly mash. It forms a thicker consistency.
If the consistency is still thin, transfer to a sauce pan and heat and simmer till the required consistency is attained.
Check for salt and squeeze some lemon juice as per taste.
Now go ahead and have this dal with some rice and yoghurt...:)


Sunday, April 17, 2011

Tangy & Spicy Masala Stuffed Okra

Its been over a year since I started writing here...A place I resort to whenever I feel like doing something different... a place where I can speak my thoughts or draw an old memory...and more importantly a place that keep me inspired and  pursue new and challenging things...
Thats when I  thought to myself why not give this blog some character...It all started with creating  a blog button. I am glad it ended up giving a whole new scene to this blog... 
I had a psychological aversion  towards these green beauties few years back...I wouldn't even dare to eat it.... But all such notion disappeared one day when one of my fellow flat-mate made this and I happily enjoyed every last bite of it. It happens to me all the time.... All it takes is a one good dish  suddenly my stance change from...'me not likey' to 'me likey'.. :)
In my personal experience (of being an adamant picky eater ) one of the best way to start liking things is to start cooking it by yourself. You will seriously astound yourself  when you look back say why did I hate this ?

Masala Stuffed Okra is one such dish that not only enhance the natural taste of okra but also lure in more people to like it....Last week when I made this I couldn't wait till the rice was done... I immediately grabbed a croissant (a crazy combo...?? I loved it...) and ate it...
These are best eaten with rice and a dollop of yoghurt...For dinner I enjoyed eating Okra with this as well.
Roasting whole spices will give a nice enhanced flavor to the stuffed masala.

To avoid okras getting slimy, wash Okras well and dry each of them individually with a kitchen towel.
Cut the head off and slit it length wise on one side. Make sure not to tear the opposite side. This will ensure the masalas will be stuffed in perfectly.


Recipe:
---------
Sources : Veggie Belly (mostly)
              Khana Khazana

  1. Okra                  -  20- 22 medium sized.
  2. Onion                 - 1/2 of medium chopped into tiny pieces
  3. Garlic pods          - 2 chopped finely
  4. Turmeric             - 1/4 tsp
  5. Salt
  6. Lemon squeezed  - 1/2 small
  7. Oil


Dry Roast and Grind
----------------------


  1. Coriander seeds   - 1 tbsp
  2. Cumin Seeds       - 1 tsp
  3. Fennel Seeds       - 1 tsp
  4. Pepper               - 1 tsp
  5. Dried red chili      -  3
Roast the ingredients listed under 'Dry Roast and Grind' on a wide heavy bottomed pan.
Stir all the ingredients until it attains a slightly darker shade and releases a good aroma of spices.
In a spice grinder, grind these roasted spices into a fine powder.


Heat some oil in a pan. Add the diced onions and garlic. Cook till it is wilted and oil starts to appear. Add the ground spices, turmeric and salt to this. Stir it till the spices are cooked and raw smell is gone. 
Remove from heat and let it cool. Squeeze some lemon over it. Around 1/2 tbsp. The stuffing is ready.


To avoid okras getting slimy, wash Okras well and dry each of them individually with a kitchen towel. Cut the head off and slit it length wise on one side. Make sure not to tear the opposite side. The slit should be just enough to stuff masalas inside.


Now slowly, without tearing the Okras apart, place the stuffing inside and place it aside. Continue the process until all the okras are stuffed.
Heat some oil in a wide pan. (I used a wide cast iron skillet). When the oil is hot swirl it around, so that oil is even coated on the surface.
Place stuffed okras, with the stuffed side facing up. Cook at high heat for a minute or two. 
Reduce the heat, cover it with a lid and cook till it is soft and cooked- 6-8min.
Open the lid and slowly turn the okras, so that the stuffed side will be facing down.
Squeeze some lemon over the okras and around the skillet.
Cook for a minute or two.
Remove the pan from heat source. Place the okras in a serving plate.
Serve hot and enjoy.
TPATBRVP6BDS

Wednesday, March 30, 2011

Butter-(less) Paneer :-)

Did I say I get lots n lots of sunlight here in my last post..? May be I was seeing a mirage.....or may I just jinxed it by saying it!! Since then its been raining here in Seattle most days....The sun is resisting to peak out even after some heavy rolled out looks from me.. !! 
Thus our weekday biking and weekend photo walk plans drained away, leaving us with only indoor activities...
So to spice up the weekend with all the rainy blooms I made Paneer Butter Masala curry... yess the one that is spiced with a rich tomato gravy which is then thinned with cream to get a decadent sauce....
I have made this sauce several times that refinements I made in the proportions has made this recipe one among the fail proof recipe collections I have.
Whenever I end up with a pile of tomatoes waiting to be used within days I make this curry right away... 

For health reasons.. I never add butter (I know it is called Butter Paneer) nor do I add cream... Instead I use vegetable oil and yoghurt.
Also many of the recipes out there uses tomato paste which I never buy or use. I find that increasing the number of tomatoes and cooking it until all the water content is evaporated gives a intense flavor which I  enjoy very much...Moreover using fresh veggies always give a nice zing to the curries.

I used the same sauce I made for Butter Chicken I posted here.

Recipe:
---------

Marinate :
--------------
I used store bought paneer.
Cut paneer from the refrigerator into small cubes. 
I let the paneer cubes sit  in warm water for few minutes till it became soft.
Take the panner cubes from water and dry it slightly, without crumbling it.
To this add little salt, pepper, chili powder and let it marinate.
        

Inspired and modified from :
Sources: (1) : Soma @ Ecurry
             (2) : Alfred Prasad, Head chef at Michelin-starred Tamarind in London's Mayfair 


Makhani Sauce/ Butter Sauce :
-------------------------------------
  1. Cinnamon stick              -  2 cm
  2. Cardamom pod             -  3 slited and crushed slightly
  3. Bay leaves                    -  3
  4. Cloves                          -  3
  5. Ginger                          -  1 tbsp crushed
  6. Garlic                            -  1 tbsp crushed
  7. Chili powder                   -  1 tbsp
  8. Tomato                         -  7 medium sized / 5 large , cut into small pieces comes to around 5 cups or more.
  9. Salt          
  10. Honey                            - 1 tbsp 
  11. Yoghurt                         -  1/2 cup (or use Cream)
  12. Kastoori Methi Leaves      -  2 tsp
  13. Butter ( If using )
  14. Oil

  1. Heat oil in a sauce pan. Add crushed ginger and garlic and saute till it turns slightly brown.
  2. Now add bay leaf, cardamom, cinnamon and cloves and saute for a min.
  3. When the aroma of spices comes, remove the pan from heat source and add the chili powder into the oil. Saute really fast. Within seconds the chili powder will turn to a darker shade. Add the cut tomatoes and salt and place the pan back to heat source. This should be done quickly or else chili powder will get burned.
  4. Close the lid and let the tomatoes cook on heat. Stirring once a while.
  5. Once the tomatoes are cooked. Open the lid, increase the heat and let all the water content evaporates.  The consistency will come to a thick liquid. Leaving only like 1/5th the initial amount. It will attain a dark maroon color.  Makhani sauce is ready.
  6. Switch off the heat and let it cool.
  7. Once it is cooled down completely, blend this into a smooth sauce using a blender.

  1. Heat some oil or butter (or a combination of both) in a frying pan enough to lightly brown the paneer pieces.
  2. Add the paneer cubes and lightly brown all sides.
  3. Switch of the heat source. 
  4. Into this oil-butter (add bit more butter / oil  only if required) , add the prepared blended makhani sauce and stir. Once it starts to bubble up, remove the pan from heat source.
  5. Whisk the yoghurt with little water and add to the makhani sauce and stir fast. Sauce should be at a very low temperature so that yoghurt won't get curdle.
  6. Once the yoghurt is mixed well into the sauce. Place the pan back on the heat and stir.
  7. Add honey and kastoori methi. Check for salt and add if necessary.
  8. If it tastes very sour, add bit more honey.
  9. Add little water or some more yoghurt if want a thin sauce.
  10. Add the paneer pieces and mix everything.
  11. Switch off the heat.
  12. Serve hot and enjoy...:) 

Thursday, March 24, 2011

Chicken Wraps

The best thing I love about this new apartment is the abundance of sunlight I get inside... Previous apartment I stayed never had any direct sunlight facing windows... Most of the time the house felt so dim and moody...which in turn makes me feel so lethargic.
 The new apartment is making up for all that... Moreover this kind of apartment therapy is giving me a new Zing !! Most days are surprisingly productive...:)
See now I am able to take photographs like this... Totally utilizing the sunlight coming through the window blinds.
Coming to the Chicken rolls...something I make when I feel completely lazy to make dinner, instead want to make something interesting that includes some fresh vegetables and lots and lots of lemon...:P Oh! you know my fondness for lemon...
Steps are very simple... Cut chicken into thin strips (this will marinate faster and will cook with less oil). Marinate with the choice of seasoning and leave it aside. Make chapatis meanwhile.
Stir fry the chicken pieces with little oil until all the pieces are cooked through and evenly browned. Take each chapati, spread some yogurt, place few chicken pieces at the center. Add choice of fresh cut veggies... I usually add thinly sliced cabbage, cucumber. This time I had some freshly home made bean sprouts which made a good addition to this wrap.
Once everything is placed generously squeeze some lemon juice across it. Now wrap it up and there it goes into the mouth...:p
Recipe:
----------
I am not writing the proportions here because this is something that can be explored with a variety of ingredients. I will list out the ingredients used here.

To marinate : 
----------------
Turmeric Powder (very little)
Chili Powder
Tandoori Masala
Pepper
Salt
Yoghurt
Lemon Juice
Boneless Chicken - Sliced thinly.

Marinate thinly sliced chicken pieces with the above ingredients and set it aside.

Make enough chapatis meanwhile.

Filling : Thinly slice everything
--------
Cabbage
Cucumber
Onions
Bean Sprouts
Yoghurt
Lemon Juice

Heat a wide non stick pan, add few drops of oil. When it is hot add all the chicken pieces and stir fry it till it is completely cooked and evenly browned.


Take one chappati, daub it with yoghurt.
Place some fried chicken pieces, and freshly sliced vegetables.
Squeeze lemon juice across the filling.
Roll the chappati to make the filling in place and set aside.
Continue with the rest of the chapattis.


Now go ahead and make this Crunchy Wraps

Tuesday, March 22, 2011

Garlic Knots

How long has it been since I posted anything ... If you ask me why the answer is plain and simple... I was utterly bored or ridiculously busy most days. Trust me nobody wants to read the post that I write on those days. 

But today I feel so free and liberated from all the nightmares... Yes Nightmares...Moving apartment is a nightmare, UNPACKING & ORGANIZING !!! doubles the Nightmare !!! Now throw in some heavy assignments and project from the class...Dang!!! Nightmares goes up exponentially.  But now it sort of look like home...everything out of the boxes and organized in to its own places. Everything at home looks happy to have a place of its own...:)

While I enjoy my spring break I decided to inaugurate the oven with these fragrant garlic knots... With spring still fighting with winter, the warmth from the baking was kinda my kick back to the winter...


The recipe credit goes to White on Rice Couple, the only thing I changed is the garlic coating...

Make the dough as per the recipe and instructions. Let it rise.

To check if the dough has risen enough, give a small poke. If the dip stays, it had risen enough. If it bounce back then it needs to rise more. 


Roll the dough into a big rectangle, cut that in to thin strips. Take each strip and create knots. Set that aside on a baking tray. Make sure to leave space {which I didn't ..:(} in between, these are going to rise a lot.


Let the knots rise till it is double the size.


Give the garlic coating and off it goes into the oven. Bake at 400F for 10-12 min or till a light brown crust is formed.
Recipe:
---------
For the Garlic knots : Read WhiteOnRiceCouple

Garlic coating : 
--------------------
Olive oil         - 2 tbsp
Garlic pods     - 3, Crushed 
Red chili flakes - 1 tsp
Dried herbs - a pinch (I used oregano and basil)


These hot little buns were a joy to indulge.. To those who like baking and like eating things with garlic flavor then this is exactly what are you are looking for.