Redirector

Pages

Friday, August 10, 2012

Photo Blizzz - 3

Some of the clicks from in and around Seattle. This post has been sitting in my inbox for quite some time. In times like theses I should say "Better late than never" and go ahead and post it.

Seattle Skyline from the ferry
Experience Music Project- Seattle
Pike Place Market
Pike Place Market
Seattle Space Needle

Snocolmie Waterfalls
Mt. Ranier from Freemont Lookout point

Friday, August 3, 2012

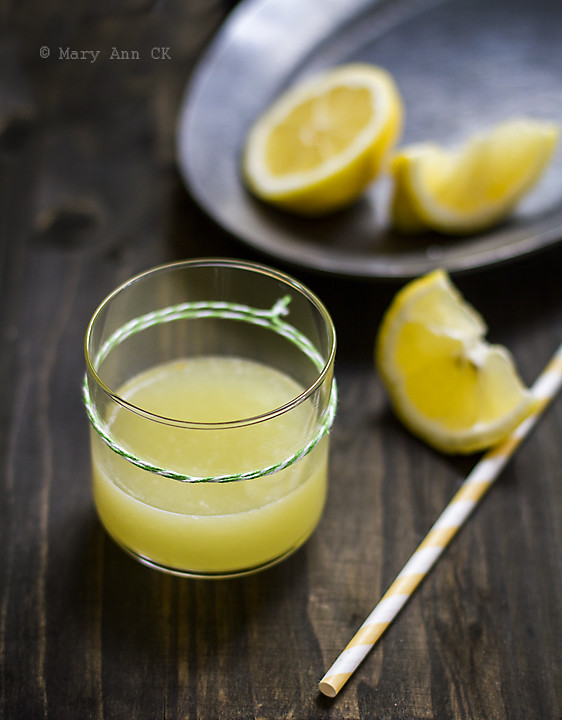
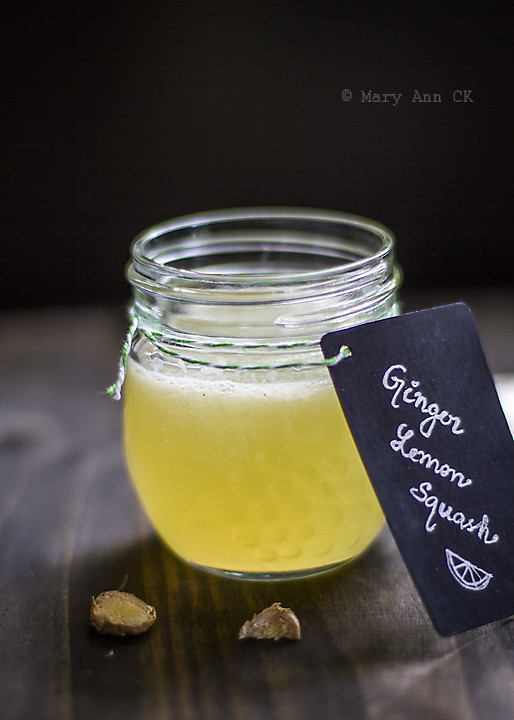
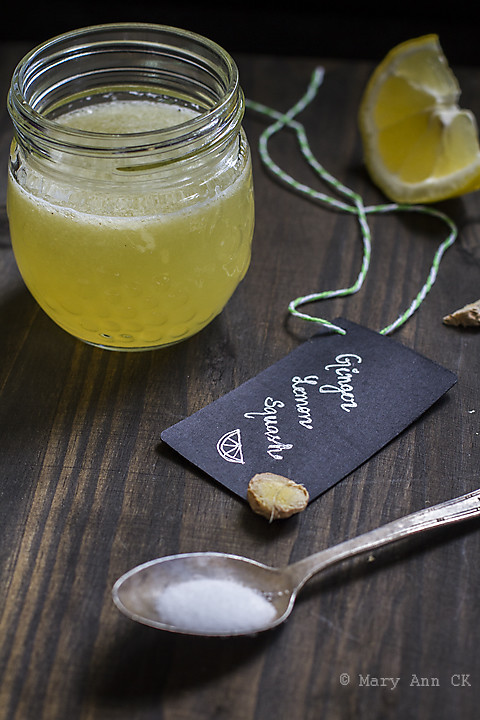
Ginger Lemon Squash


Everyone enjoying the summer well ?

Well we have been getting several days of hot weather coupled with some cool days.


Whenever it is summery one of the first things that comes to mind is to have some cool lemon juice. Nothing replenishes your energy like this. It will be even more fabulous if it is attainable with just a few simple steps away.


   Lemon juice infused with ginger and sugar is by far my favorite. The very thought of it gives me a refreshed feeling.


Recipe :
----------
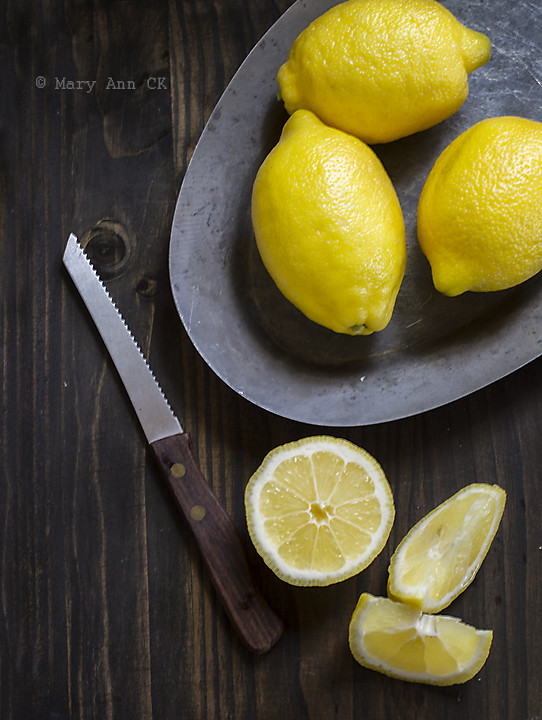
  1. Lemon juice        -  4 cups (freshly squeezed)
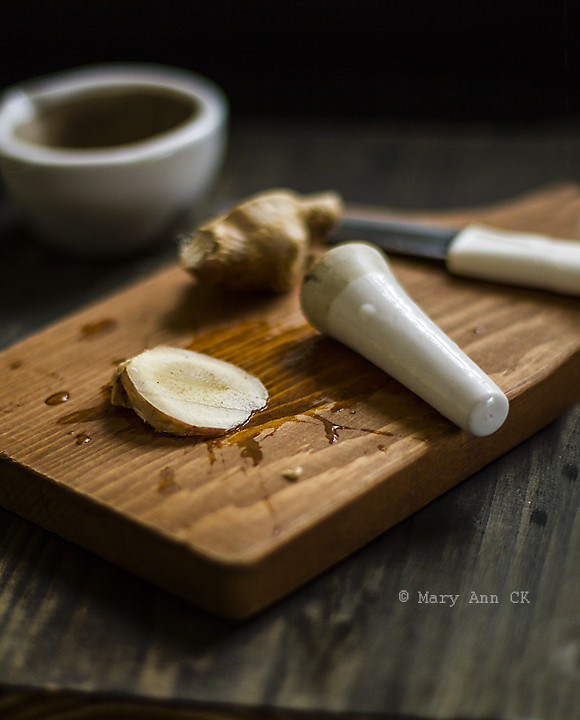
  2. Ginger                -  1 tbsp (grated and crushed with knife/ mortar stone so the juice comes out)
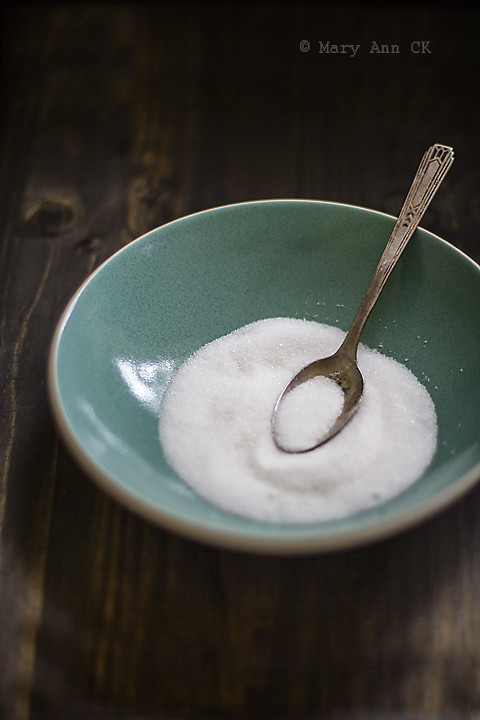
  3. Sugar                 -  2 1/2 cups
  4. Water                 -  1 cup  


Method:
---------

Bring 1 cup of water to boil.
Add grated & crushed ginger to the boiling water.
Let this boil for few minutes. This will make sure the ginger flavor is infused into the water.
Switch off the heat and filter the water into another deep saucepan and discard the ginger collected in the filter.

Add sugar to the filtered ginger water in the saucepan and bring it back to heat.
Make sure the saucepan is deep enough, else the sugar syrup will boil and overflow.
Let it boil for some time. Stir it with a spoon to prevent it from overflowing.
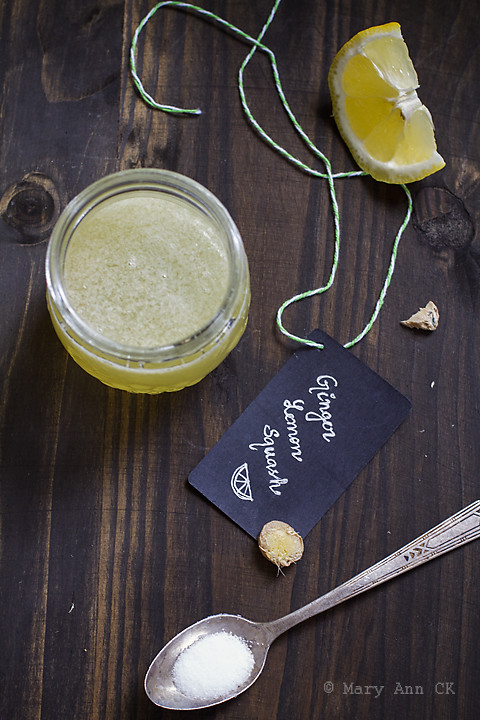
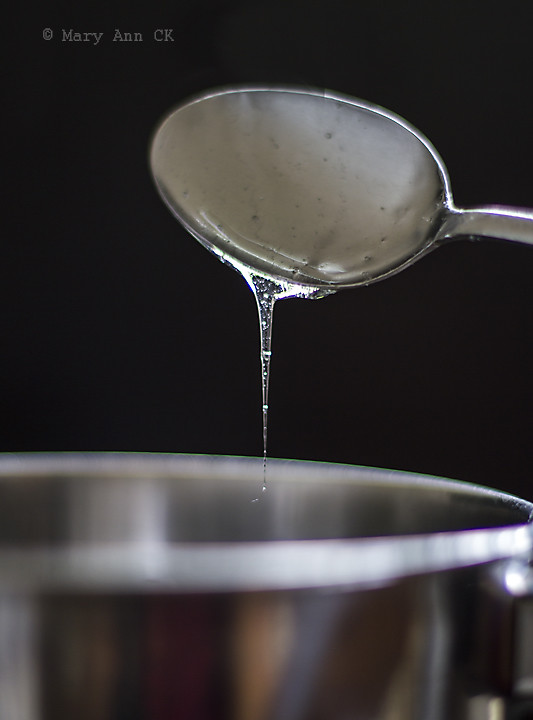
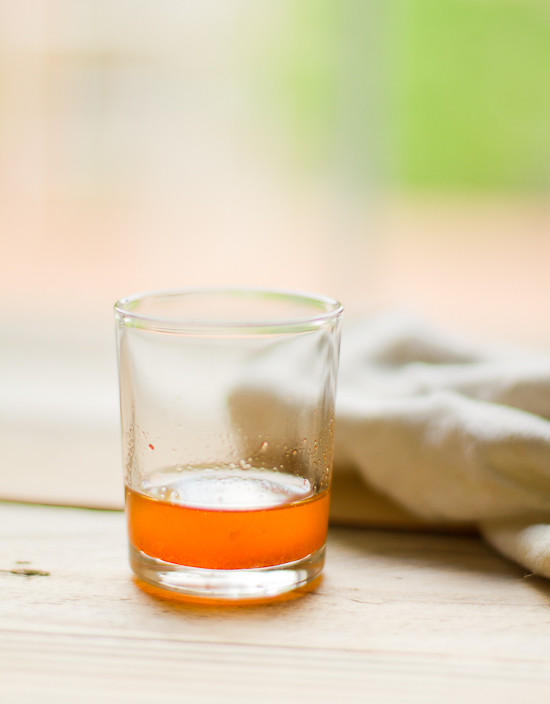
Boil the syrup till you attain a thread like consistency. (like the picture below)

Once you attain this consistency add the hot syrup directly to the freshly squeezed lemon concentrate.
Store these in dry jars. Once cooled close the lid and refrigerate.

To make lemon juice :
---------------------------

Fill less than 1/4 th of cup with lemon squash. Fill the rest of the cup with cold water and drop 2 ice cubes.
Enjoy this refreshing drink. 


Sugar syrup should have a thread like consistency
Notes :
--------
  • Make sure to use dry container while squeezing the lemon.
  • Crushing the ginger and boiling it will add more ginger flavor.
  • Bottles/ jars must be thoroughly cleaned and dried before pouring the lemon squash.
  • This squash can last for several months in the refrigerator. (Make sure everything is dry and clean)


Friday, May 25, 2012

Squash Erisseri - Boiled Squash simmered in spiced ground coconut

So here I was sitting for the past one hour wondering what to write. But let me tell you my long absence, most of it was not intensional. You can say it was a loose blend of academic work , travel and LAZINESS. And the result was an extended absence from blogging world.  After a while, although I badly wanted to come back and do something, there was this essential ingredient missing...that ingredient which I believe is the key to whatever I succeed in my life. It makes me feel all fired up and ready to conquer anything that comes in my way...

So can anyone guess what that ingredient is ???
Let me give you a clue... This space is named after it !!!

Now you get it right ...:0. Yes the feeling after I get Inspired, its truly magical !!!

Each post in this space is the outcome of an extremely inspired girl.

This post was inspired by none other than this cute little squash sitting in the corner of the vegetable tray inside the refrigerator.   We have been buying squash specially to make this curry. The moment I tasted this curry I became a huge fan. Have it with rice and yoghurt, you wouldn't need anything else.

Only hard part I find when it comes to squash is peeling the skin off. What I usually do is cut squash in to smaller sections and peel the skin off. Remove squash seeds and cut the flesh in to 1 inch cubes.

What I look forward even more is the tantalizing aroma of the ground coconut mix when you open the lid of the blender. One whiff !!! I am transported to somewhere else...

Recipe :
----------
  1. Squash               -  1 med, peeled and cut into 1-inch cubes 
  2. Water                 -  2 cups or more (as req.)
  3. Salt 

To Grind: Coconut Mixture :
------------------------------------ 
  1. Grated Coconut      -  1/2 cup
  2. Turmeric Powder    -  1/2 tsp
  3. Chili Powder          -  1 tsp
  4. Green chili            -  1
  5. Cumin Seeds         -  1 tsp 

For Tempering:
--------------------
  1. Oil                      
  2. Mustard seeds      -  1 tsp
  3. Shallots               -  4 -5 
  4. Dried red chili       -  2
  5. Curry leaves         -  few
  6. Grated coconut     -  1 Tbsp


Pressure cook squash with water and salt till 1 whistle or in a medium pot, cook the squash in water mixed with the salt for 8 to 10 minutes or until they are soft. 
Mash the cooked squash with any remaining water with the back of a spoon and set aside.

Meanwhile grind the contents under coconut mixture in to smooth paste (with little water as possible ).
Add the coconut paste to the cooked squash. 
Mix well and cook for 2 -3 minutes, until the coconut mixture has blended in. 
Remove from the heat and set aside.

Heat the oil in a small skillet and splutter the mustard seeds.. 
When they burst, add the rest of the ingredients for tempering.
Sauté till it is browned.
Remove from heat and stir the seasoned oil with the spices into the cooked squash mix. 

Serve hot and enjoy...:)

Friday, January 20, 2012

All from my mother's vegetable garden

I know I know its been quiet some since I wrote anything on this blog. What I didn't expect was a short casual break I decided to take would grow into such a long break. So rather than discussing about what I was up to in one post,  I will give glimpses about it from time to time... trust me some of them are pretty good...:). We had a pretty wild summer vacation....:P
After all the fun and finishing up my big project and classes at university, currently I am enjoying my two months vacation with my mother and family in Trivandrum, getting completely pampered and back to being lazy in the kitchen. 

My mother maintains a small vegetable garden. Although less in number compared to what we had few years back, my mother maintains a lovely vegetable patch in our terrace including this tiny "Vaazha" (Banana plant pictured above.) Every morning my mother go to terrace to water the plants and collect vegetables which are ready for use. Yesterday morning I decided tagged along with my camera to click some of them. 

With that being said, i am ending this post with some of the pictures from my home.  Hope everyone is enjoying the new year well...:). Wishing every one a happy and prosperous New Year !!!

Become a fan here FaceBook . Follow on twitter : @foodieanns

Wednesday, June 29, 2011

Photo Blizzz -2


After an overwhelming week of work, all I want to do is to go back in time and enjoy the scenery once more. But thanks to the invention of photography, even if we can't go back in time, we still can enjoy the frozen moments captured...So today I wanna sit back and enjoy the awesome road trip we had few days back...:)  
Wind Mills

Irrigation of Farm Lands


Second day journey started here.


Become a fan : FaceBook . Follow on twitter : @foodieanns

Tuesday, June 21, 2011

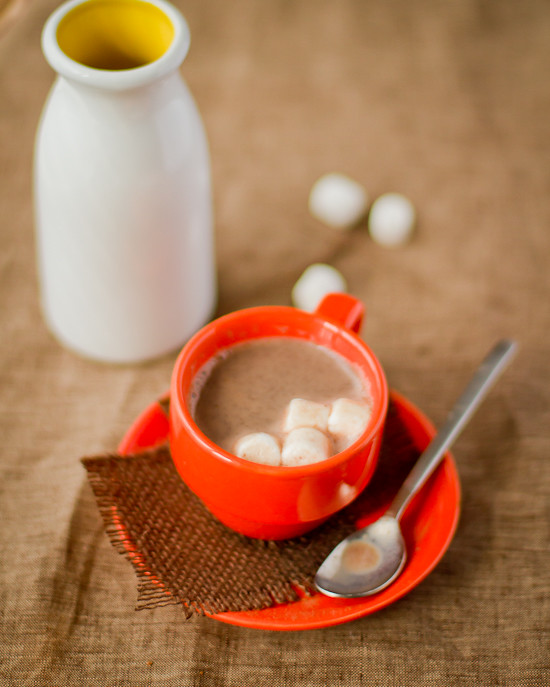
Hot Chocolate - For a Rainy evening


I think I have lost track of the number of times I tried to have a decent hot chocolate but ended up with the same disappointing tale ... I always feel like it is too good to be true...
I particularly remember this one time. After some hectic schedule at work, I wanted a break, and thats when I thought about the hot chocolate served by one of the vendors in the food court. The vendor being  one among the top and famous in the field of dairy products I had my expectations set pretty high... A mind filled with joy, I set out from the building to the food court blaming myself, for not doing this earlier...When I reached there I could see there 'Hot Chocolate' written on the menu board. With utmost excitement I ordered one hot chocolate and waited at the other end of the line...When I finally got mine I couldn't wait but to have a sip... It sure was hot and it kind of burnt my tongue a little ...but that was not the sad part...I waited till I took another sip to confirm it. Yes, that same feeling crawled into my mind. It tasted anything but hot chocolate...more like a health drink (like boost)

As time went by, the memory of hot chocolates also faded, until I stumbled upon a picture recently. I was determined to try it this time. I made it. At last something worth calling 'hot chocolate'.

For a more deeper chocolaty flavor try adding some semi or bitter sweet chocolate...:-).


Recipe:
--------

  1. Milk                -  4 cups
  2. Sugar             -  1/2 cup 
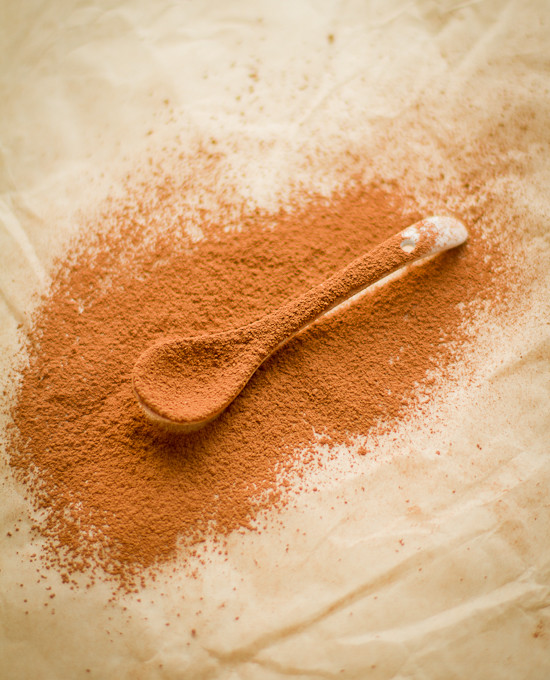
  3. Cocoa powder  -  1/4 cup 
  4. Salt                -  a dash
  5. Vanilla extract  -  3/4 tsp
  6. Hot water        - 1/3 cup 
  7. Miniature marshmallows or sweetened whipped cream (optional)

  1. In a medium saucepan, stir together sugar, cocoa, salt and water.
  2. Cook over medium heat, stirring constantly, until mixture comes to a boil.
  3. Stir for 2 minutes more.
  4. Add milk, stirring constantly, until the milk reaches the required temperature.
  5. Do Not Boil.
  6. Remove from the heat source and add vanilla and stir. 

    Serve topped with marshmallows or whipped cream, if desired.  


Become a fan : FaceBook . Follow on twitter : @foodieanns

Friday, June 17, 2011

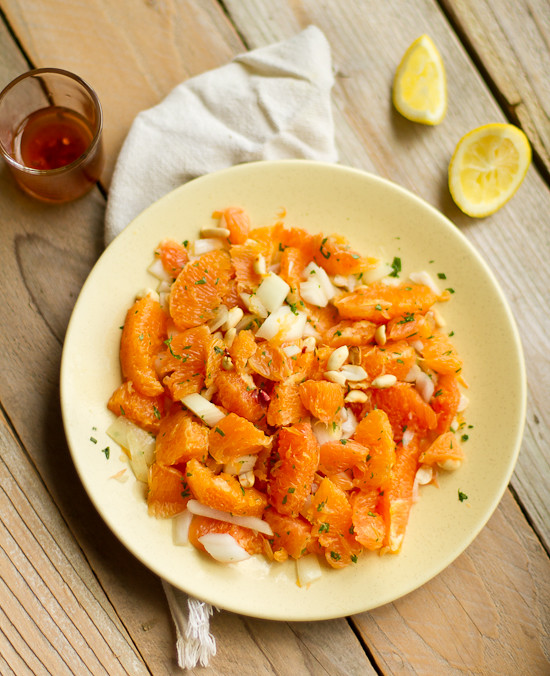
Moroccan inspired Orange and Peanut Salad


What do you do when you have a fruit box full of oranges waiting to be consumed by someone ?
What do you do when you choose to forget and mentally make a note that this area of the refrigerator is not in for today's menu ?
What do you do when you mentally instruct your body to turn away from it for several days in a row ?
What do you do when your body has unconsciously programmed not to look into that particular area of the refrigerator ?
Now what have I done...? 
I have a bag full of ripe oranges stashed securely inside the fruit box and I am doing nothing about it... No ! Scratch that...  I wasn't planning of doing anything until I saw this Summer Salad recipe with Orange as the hero.... 


Although my summer break started a week back... It wasn't until this week that I really started to revel in. It dawned on me that I was hiding behind the shadows of past contemplating what I should have done and shouldn't have done...As the saying goes Past is past, unless I have some sort of time-travelling technique I cannot do anything about it. 
Learn from the past and move on !!!
Lets just say Lesson Learned !!! 
So this week was all about rejuvenation, both mind and body. Photography for the mind & some culinary adventures and exercise for the body. Off course some television too (Who am I kidding?). To make sure I do not deviate from the plan I even made a list of things I will be doing each day. True fact  :  I suffer from time management issues. If I say dinner will be ready in one hour, the husband decipher it as two hours. Clearly his subconscious has also been programmed. Clever right :)

This salad is inspired from a Moroccan recipe... I had a feeling that I will love it the moment I saw the recipe...and I was right...I love it when I am right...:P

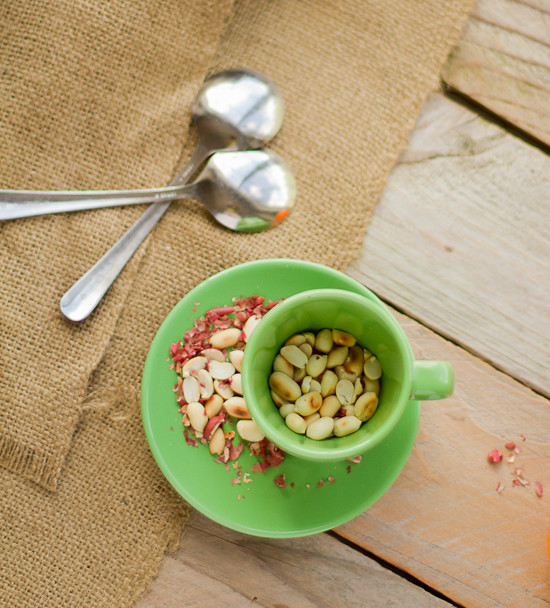
Lemon dressing with a hint of cumin and chili complements the orange well. Paired with the peanuts and diced onions makes the salad crunchy just like a salad with croutons and lettuce. It brings out a nutty flavor to the mouth which balances the tangy orange and lemon flavor...:) What more do you want in a salad ...?

Recipe :
-----------
  1.  Oranges                  -  4,   Peeled, with pith removed, and sliced.
  2.  Roasted peanuts     -  1/2 cup
  3.  Onion                     -  1/2  of a large, diced.
  4.  Lemon juice           -  1/2  to 1 tbsp
  5.  Olive Oil                -  2 tbsp
  6.  Ground cumin        -  1/2tsp (roasted)
  7.  Chili powder          -  1/2 tsp
  8.  Chili flakes             -  pinch
  9.  Coriander leaves    -  1 tbsp, chopped finely


On a serving plate place the sliced oranges, diced onions and roasted peanuts.
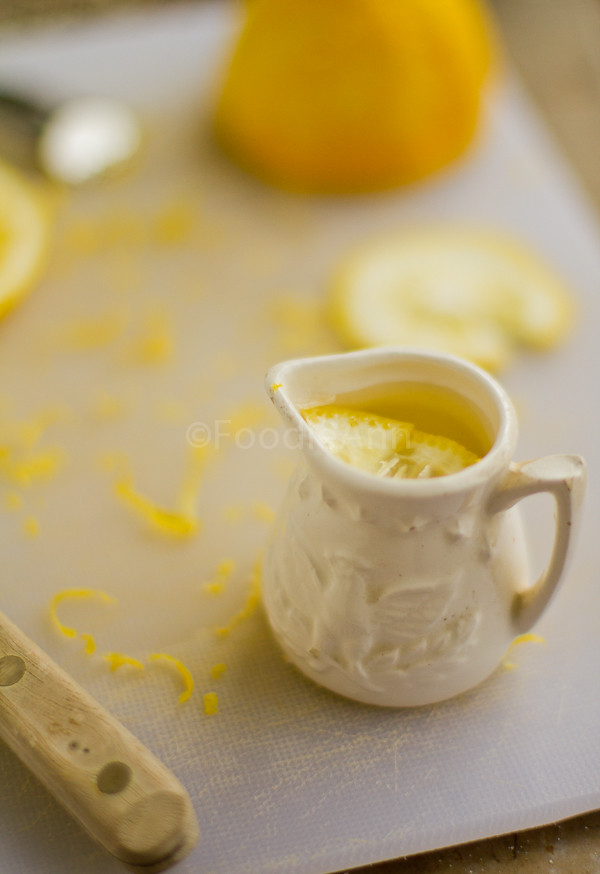
Make a dressing of lemon juice, olive oil, cumin, chili powder and chili flakes and pour over the salad.
Sprinkle with chopped coriander leaves.

Enjoy while it lasts...:)

Become a fan : FaceBook . Follow on twitter : @foodieanns

Wednesday, May 25, 2011

Lemon Bars

Lemon Bars
I wanted something on the sweeter side and before I begin my class work. Thats when I scoured the refrigerator for something and spotted these lemons in the fruit tray buried deep under. I decided to give the lemons some justice. Moreover ever since I tasted the lemon bars I have been aching to make some. 
Lemon Bars
To tell truth I was very skeptical about tasting lemon bars. After setting my eyes on ton of pictures around the blogs and reading their description about their taste reviews, I became curious. I already fabricated a mental picture of how it tastes in my head... It was around that time I got an opportunity to taste it...Excited was the first feeling I got... Yes I like lemon bars too... How can I not...I am the person who used to drink a big tumblr full of lemon juice everyday when I was doing my undergrad... 
Here instead of typing the recipe, I will provide the recipe link from Joy Of Baking, which comes with a video and few extra tips as well...

Here you go Recipe: Lemon Bars

Unlike the most desserts which always screams sweet, Lemon bars really have a strong lemony flavor which comes with its tangy taste and is perfectly balanced with the powdered sugar, eggs and  the bottom shortbread crust.
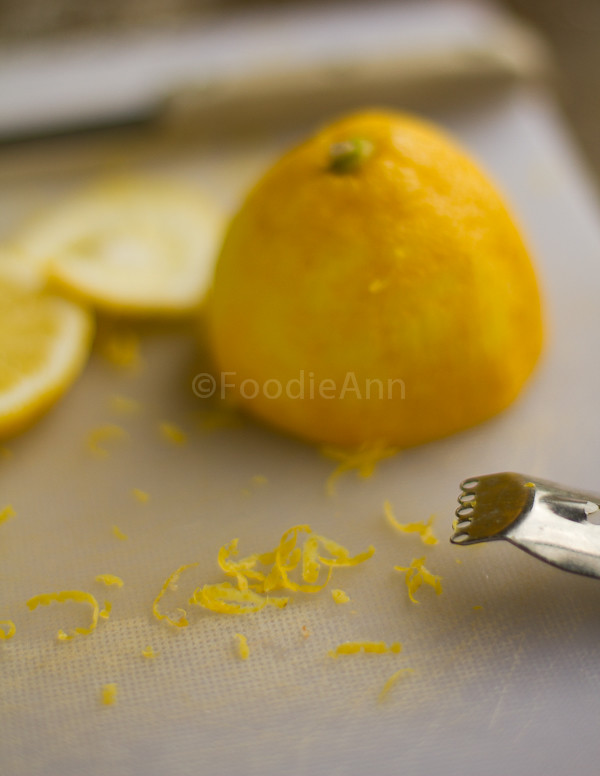
These are  easy to make too... A perfect way to spend a serene and peaceful hour...Whipping some eggs, beating some sugar ... mixing some flour... scraping some lemon zest....A nice background music...
Lemon Bars

Friday, May 20, 2011

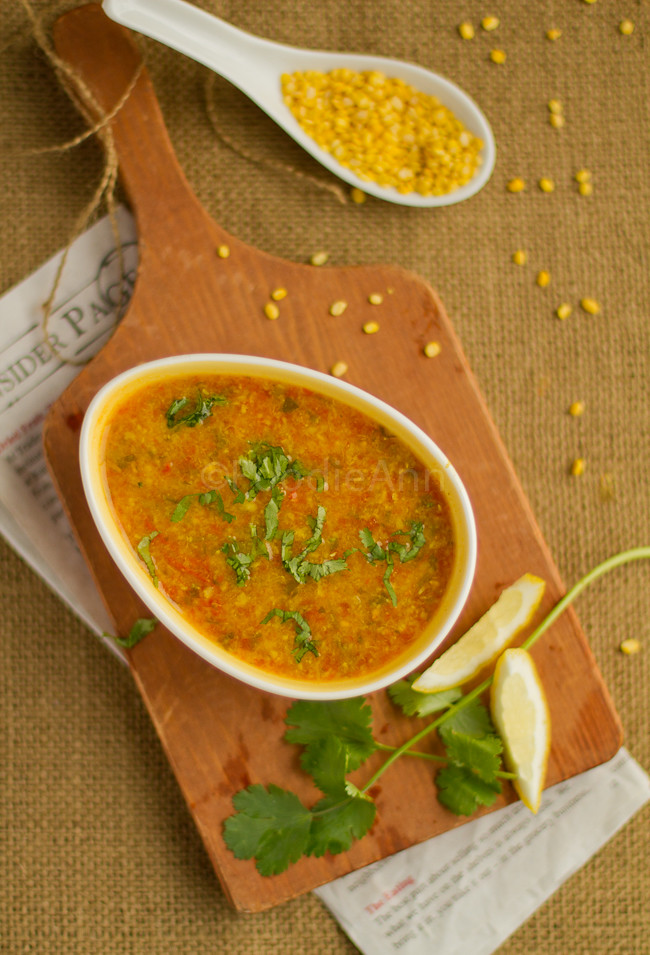
Simple Tomato Dal


Have you ever wondered if given a chance to look in to your future, will you recognize yourself...?
I often wonder about that... I think few years back if I get a chance to leap into where I am right now, I might give myself a shock or at least a scare...

Every time I visit new places.... or at times when I wait at the college staring at the buildings through the window...or every time I pick up a new habit ... I often ask myself about this..
One thing I am sure is that after the initial shock, my past-self will be extremely proud of what I am....


Its crazy if you really think about it... How quickly life changes...How experiences over time gives a new outlook of life... How priorities have  changed over the years ... The new things you started doing... New food started eating....
I always wonder about that and  I will continue to wonder ... I think its a good thought process to have....

There I said it...I have given a peek of what is happening in my head...
If anybody finds me staring somewhere lost in memories...then you can guess, I will be thinking something along this way...

So today when I was making Dal, my thoughts were these exactly.... My past-self would be totally shocked wondering 2 thing !!! How come I am cooking... That tooo Dal !!!

Few years back I wouldn't even allow any kind of Dal curries come anywhere near my mouth...In fact few years back then I was pretty convinced I would never like Dal in my life....

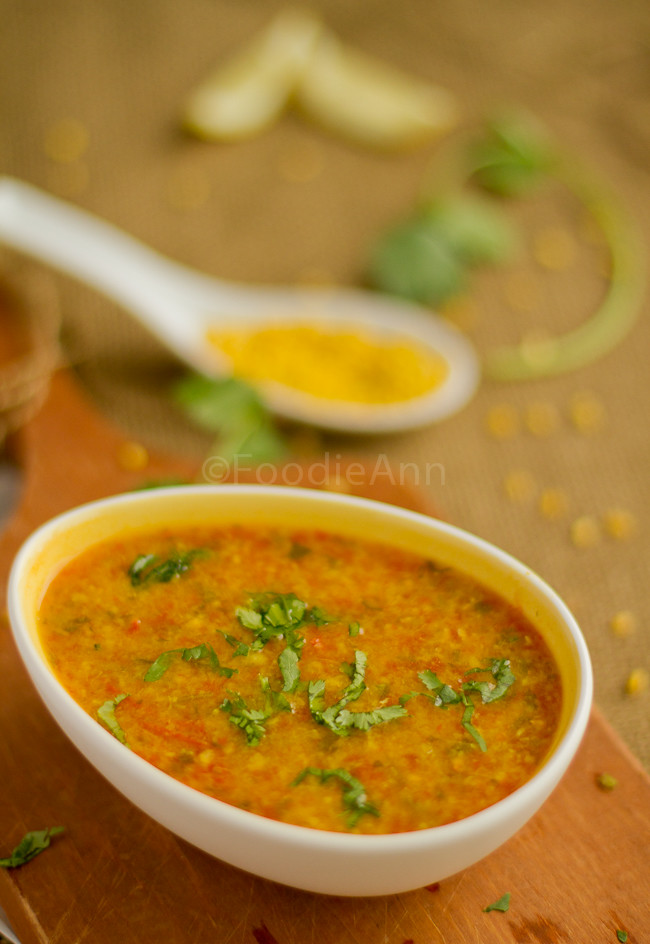
I call this simple dal because it really is very simple to make... If you have a pressure cooker at hand...I learned to make this from my MIL...
This dal makes its' appearance quite often into our dinner menu...

Recipe :
----------
Inspired from Mummy's Dal
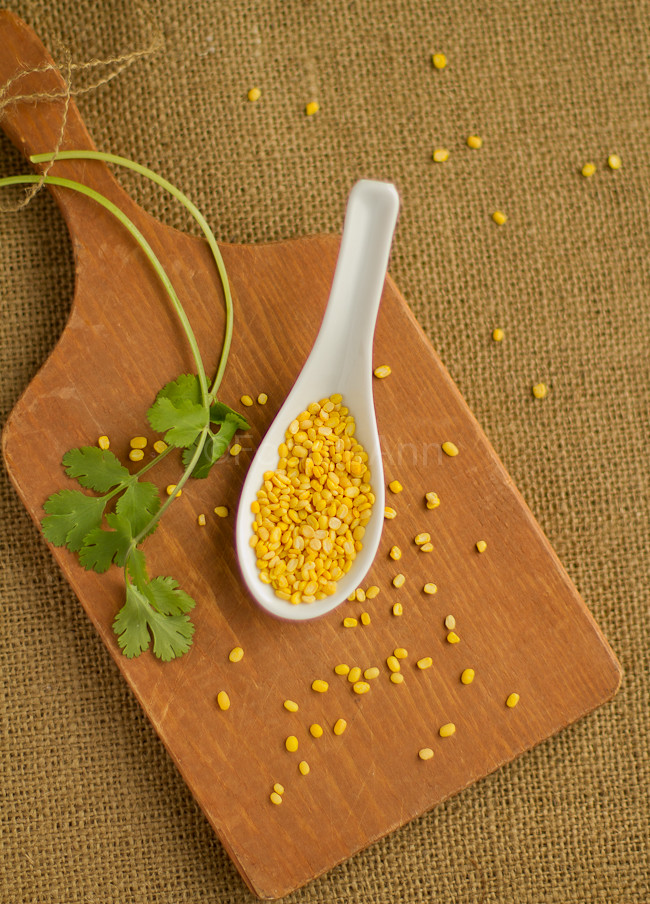
  1. Dal                       -  1/4 cup  (Toor dal  or  Moong Dal)
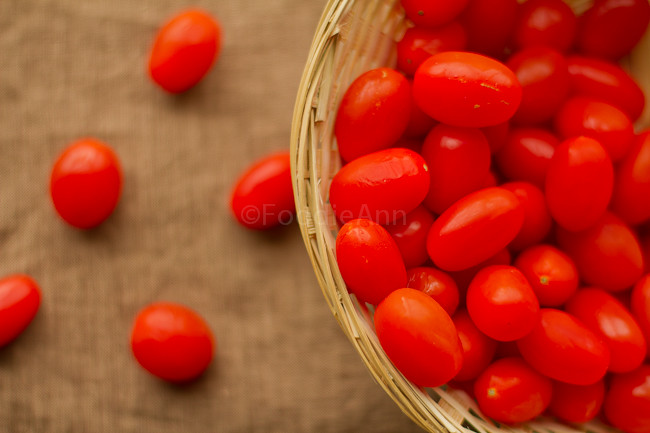
  2. Tomato                 - 2 medium sized, cut into half  or 2 handfuls of cherry tomatoes
  3. Turmeric powder    - 1/4 tsp
  4. Green chili             - 2 small , slit into half
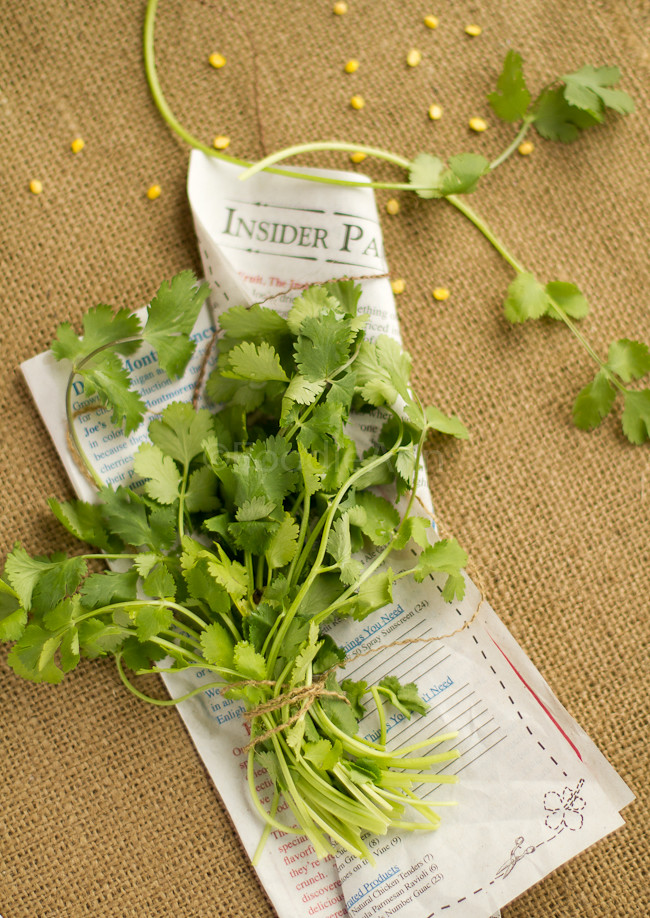
  5. Coriander leaves     - a handful
  6. Salt
  7. Lemon squeezed    - 1/2 of medium
  8. Water                   - 1 cup


Heat a pan, add dal and roast on high heat for a minute or two, a good aroma comes from the roasted dal.
Set up the pressure cooker, add everything except lemon juice.
Pressure cook for 4-5 whistles. Switch off the heat, let it sit until all the pressure is gone.
Open the lid,  whisk everything together to lightly mash. It forms a thicker consistency.
If the consistency is still thin, transfer to a sauce pan and heat and simmer till the required consistency is attained.
Check for salt and squeeze some lemon juice as per taste.
Now go ahead and have this dal with some rice and yoghurt...:)


Sunday, April 17, 2011

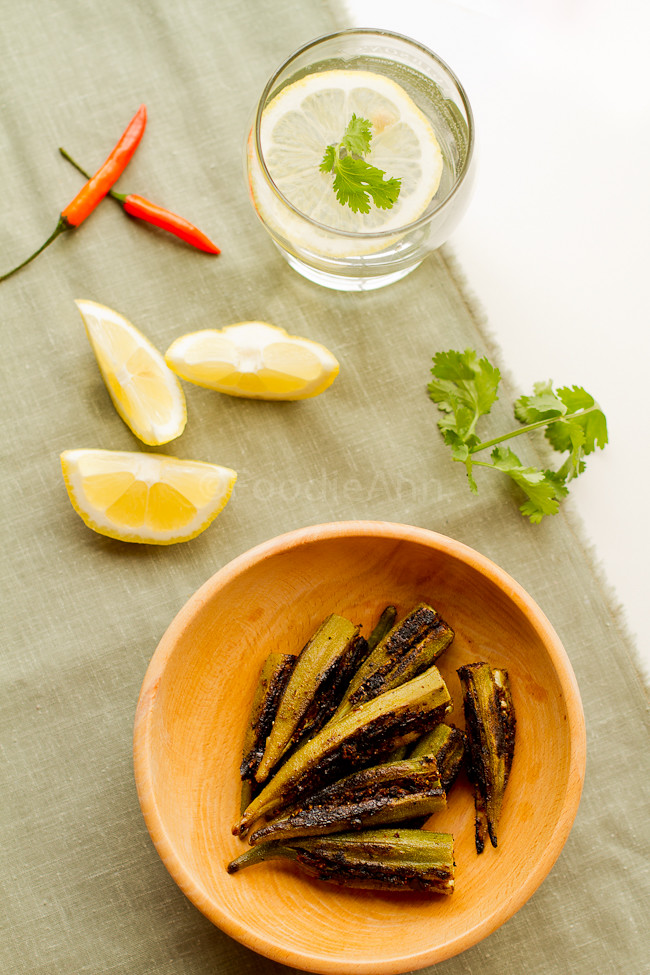
Tangy & Spicy Masala Stuffed Okra

Its been over a year since I started writing here...A place I resort to whenever I feel like doing something different... a place where I can speak my thoughts or draw an old memory...and more importantly a place that keep me inspired and  pursue new and challenging things...
Thats when I  thought to myself why not give this blog some character...It all started with creating  a blog button. I am glad it ended up giving a whole new scene to this blog... 
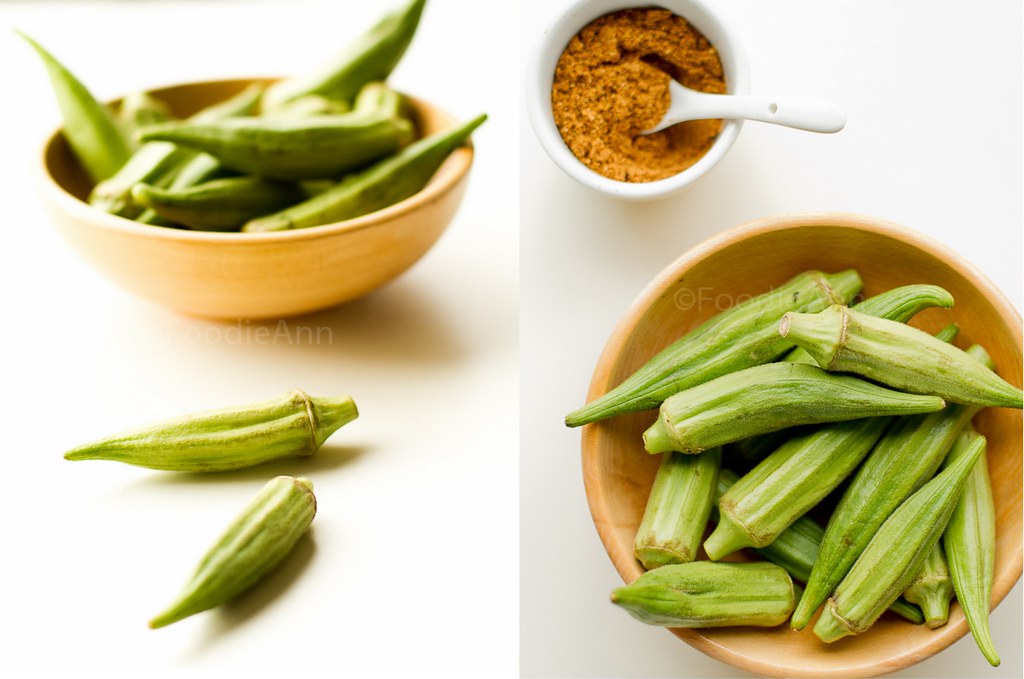
I had a psychological aversion  towards these green beauties few years back...I wouldn't even dare to eat it.... But all such notion disappeared one day when one of my fellow flat-mate made this and I happily enjoyed every last bite of it. It happens to me all the time.... All it takes is a one good dish  suddenly my stance change from...'me not likey' to 'me likey'.. :)
In my personal experience (of being an adamant picky eater ) one of the best way to start liking things is to start cooking it by yourself. You will seriously astound yourself  when you look back say why did I hate this ?
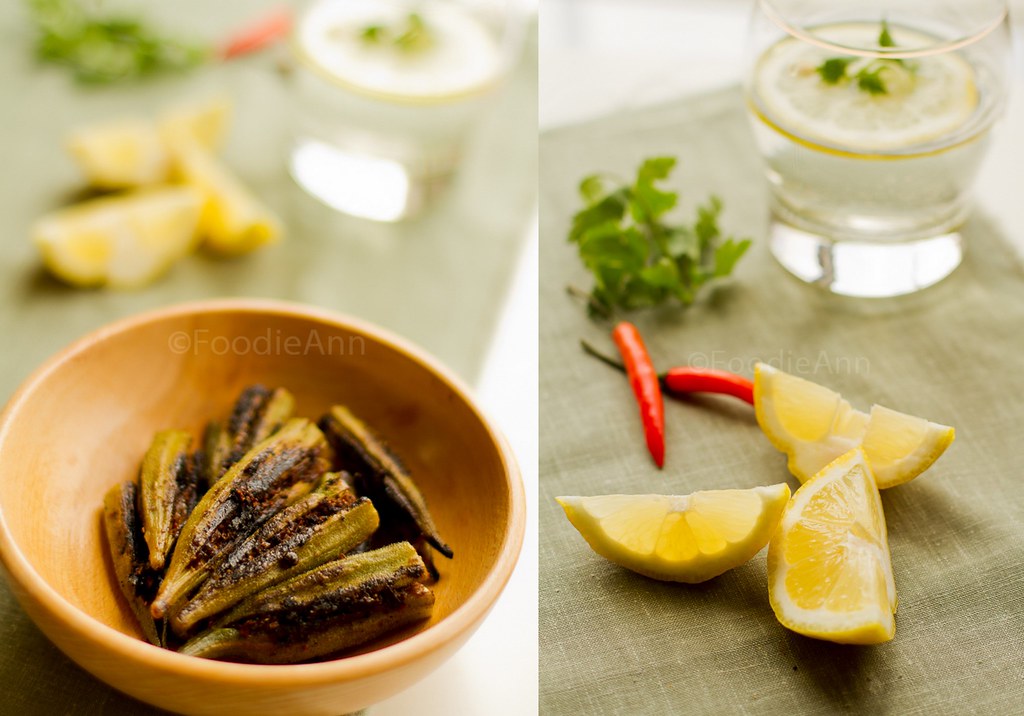
Masala Stuffed Okra is one such dish that not only enhance the natural taste of okra but also lure in more people to like it....Last week when I made this I couldn't wait till the rice was done... I immediately grabbed a croissant (a crazy combo...?? I loved it...) and ate it...
These are best eaten with rice and a dollop of yoghurt...For dinner I enjoyed eating Okra with this as well.
Roasting whole spices will give a nice enhanced flavor to the stuffed masala.

To avoid okras getting slimy, wash Okras well and dry each of them individually with a kitchen towel.
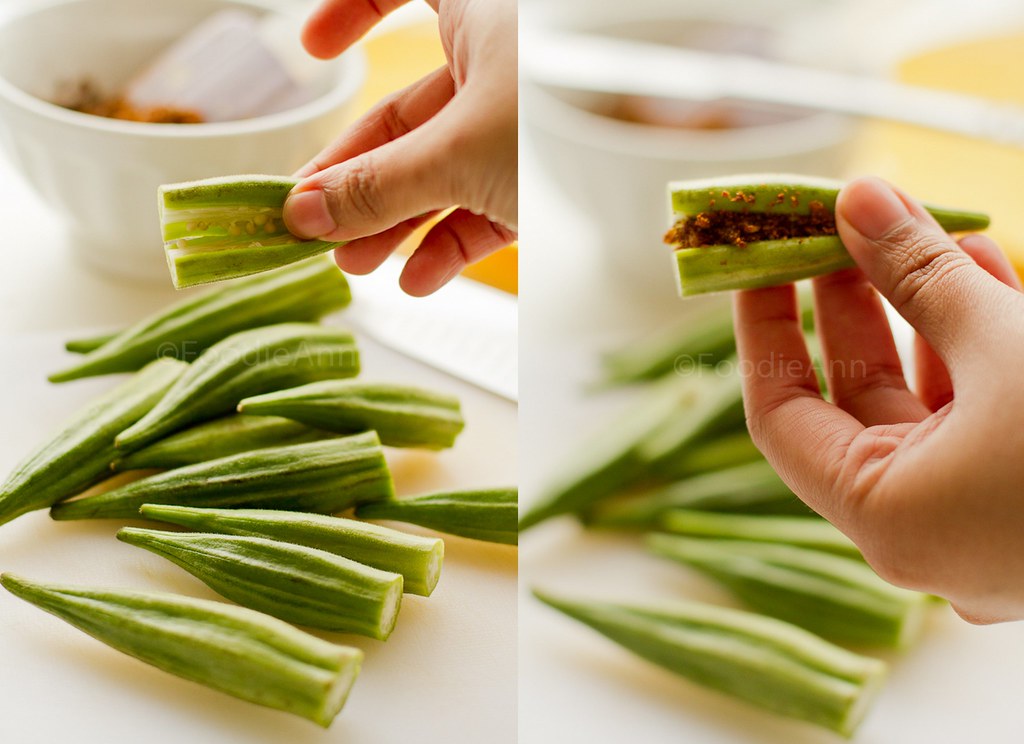
Cut the head off and slit it length wise on one side. Make sure not to tear the opposite side. This will ensure the masalas will be stuffed in perfectly.


Recipe:
---------
Sources : Veggie Belly (mostly)
              Khana Khazana

  1. Okra                  -  20- 22 medium sized.
  2. Onion                 - 1/2 of medium chopped into tiny pieces
  3. Garlic pods          - 2 chopped finely
  4. Turmeric             - 1/4 tsp
  5. Salt
  6. Lemon squeezed  - 1/2 small
  7. Oil


Dry Roast and Grind
----------------------


  1. Coriander seeds   - 1 tbsp
  2. Cumin Seeds       - 1 tsp
  3. Fennel Seeds       - 1 tsp
  4. Pepper               - 1 tsp
  5. Dried red chili      -  3
Roast the ingredients listed under 'Dry Roast and Grind' on a wide heavy bottomed pan.
Stir all the ingredients until it attains a slightly darker shade and releases a good aroma of spices.
In a spice grinder, grind these roasted spices into a fine powder.


Heat some oil in a pan. Add the diced onions and garlic. Cook till it is wilted and oil starts to appear. Add the ground spices, turmeric and salt to this. Stir it till the spices are cooked and raw smell is gone. 
Remove from heat and let it cool. Squeeze some lemon over it. Around 1/2 tbsp. The stuffing is ready.


To avoid okras getting slimy, wash Okras well and dry each of them individually with a kitchen towel. Cut the head off and slit it length wise on one side. Make sure not to tear the opposite side. The slit should be just enough to stuff masalas inside.


Now slowly, without tearing the Okras apart, place the stuffing inside and place it aside. Continue the process until all the okras are stuffed.
Heat some oil in a wide pan. (I used a wide cast iron skillet). When the oil is hot swirl it around, so that oil is even coated on the surface.
Place stuffed okras, with the stuffed side facing up. Cook at high heat for a minute or two. 
Reduce the heat, cover it with a lid and cook till it is soft and cooked- 6-8min.
Open the lid and slowly turn the okras, so that the stuffed side will be facing down.
Squeeze some lemon over the okras and around the skillet.
Cook for a minute or two.
Remove the pan from heat source. Place the okras in a serving plate.
Serve hot and enjoy.
TPATBRVP6BDS